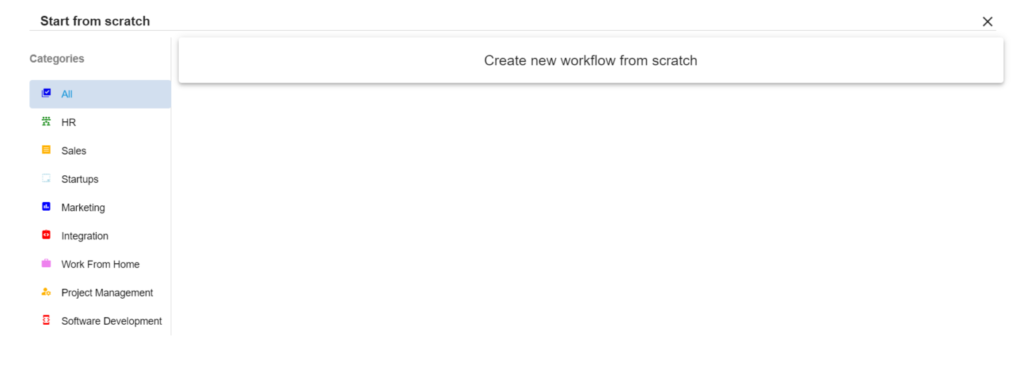
Start customizing your workflow from based on your needs once you have selected a required template you want.
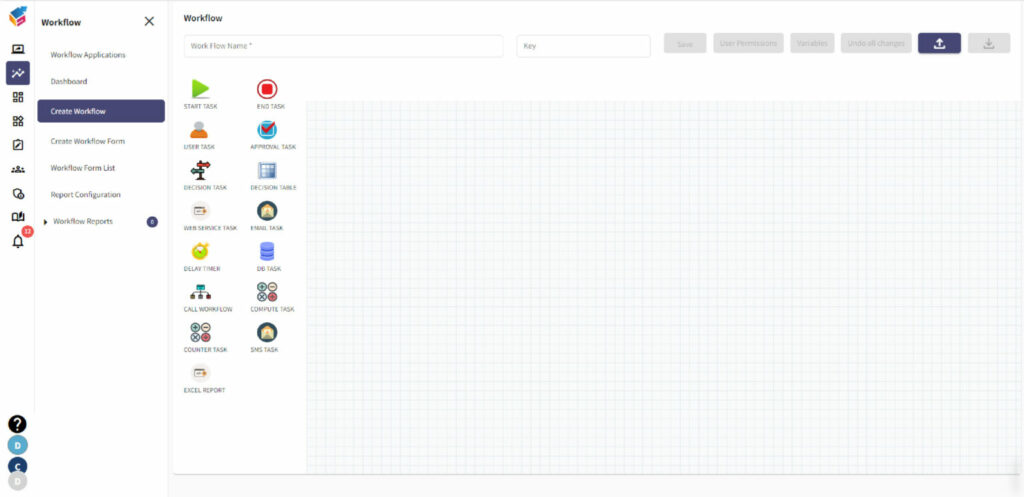
Just drag and drop the icons to design your workflow with no-code. Following are few workflow tasks such as Start Task, End Task, User Task, Approval Task, Decision Task, Decision Table, Web service task, Email Task, Delay Timer, DB task, Call workflow, Compute task, Counter task, SMS task, Excel Report.