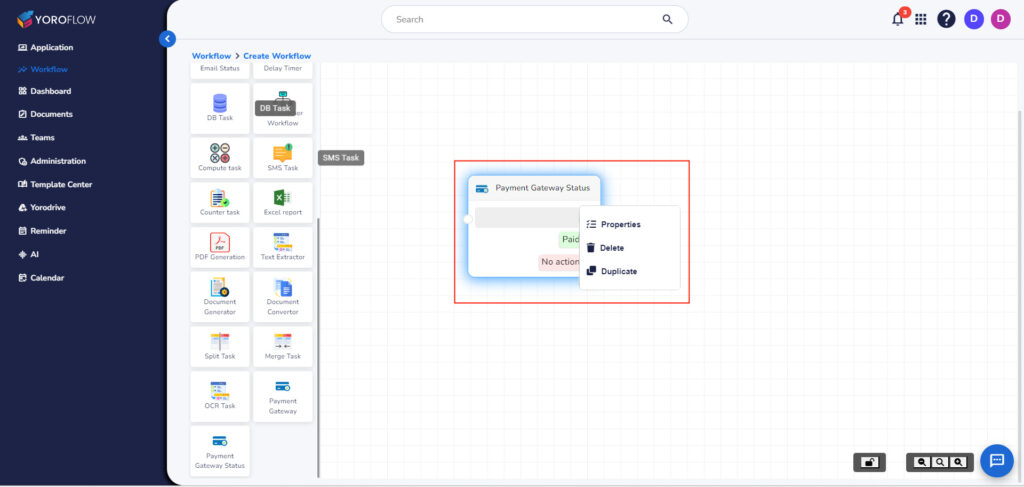
In workflow controls, a payment gateway task has been added.
You can drag and drop this control to create a payment gateway.
Right-click and choose Properties.
Currently, two payment statuses are implemented: “Paid” and “No Action.”
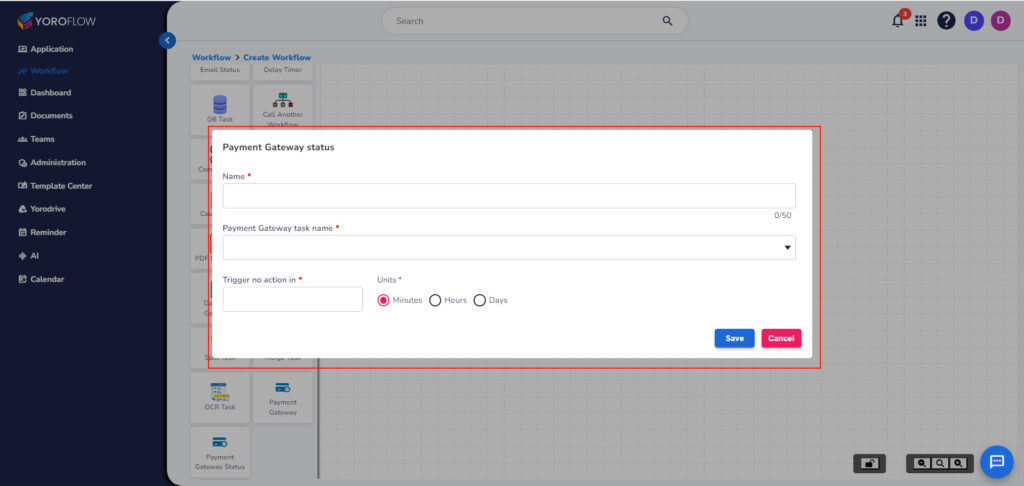
Enter the name, payment gateway task name, set the time in minutes, hours, or dates as shown on the screen, and save this data to update your payment status.
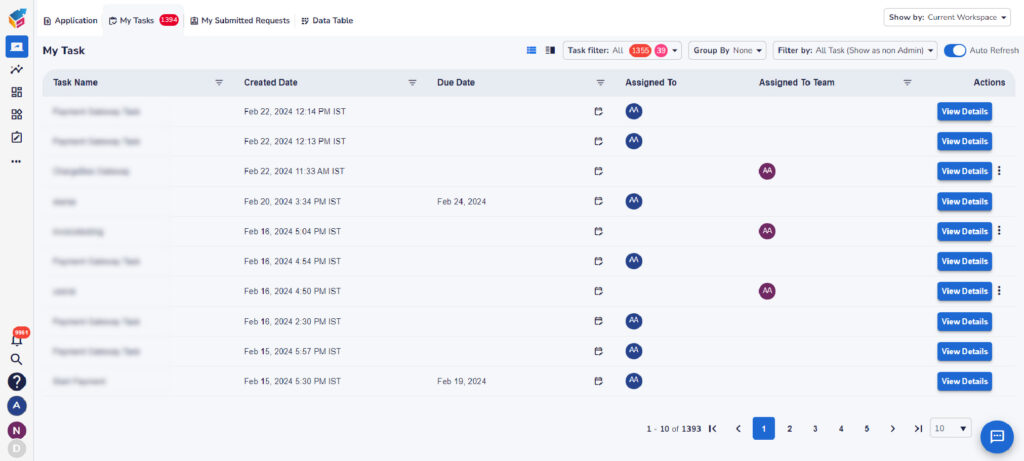
Navigate to the ‘My Tasks’tab and click on View Details to access comprehensive information about the payment gateway for each task.
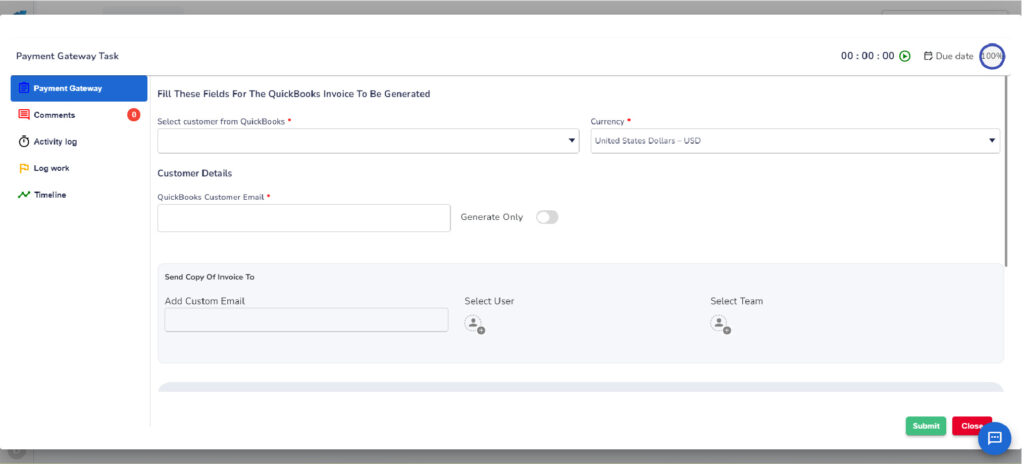
Here, you can view and edit the details. For example, select the customer from QuickBooks, choose the currency, provide the customer email, and enable/disable the “Generate only” option to generate the invoice without sending it to the customers.
You can also choose to send the invoice copy to specific users or teams.
After that, you can view and edit the product details and click the Submit button.
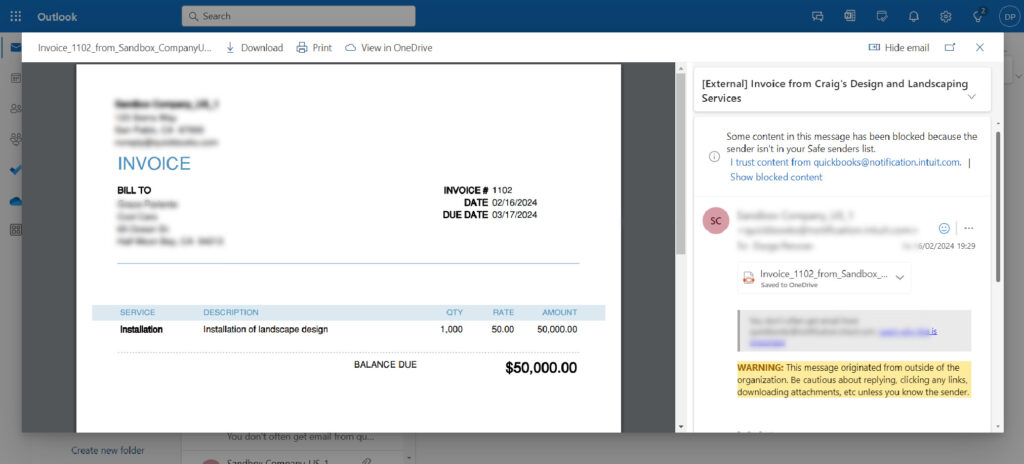
Next, the customer will receive an invoice email in PDF format.
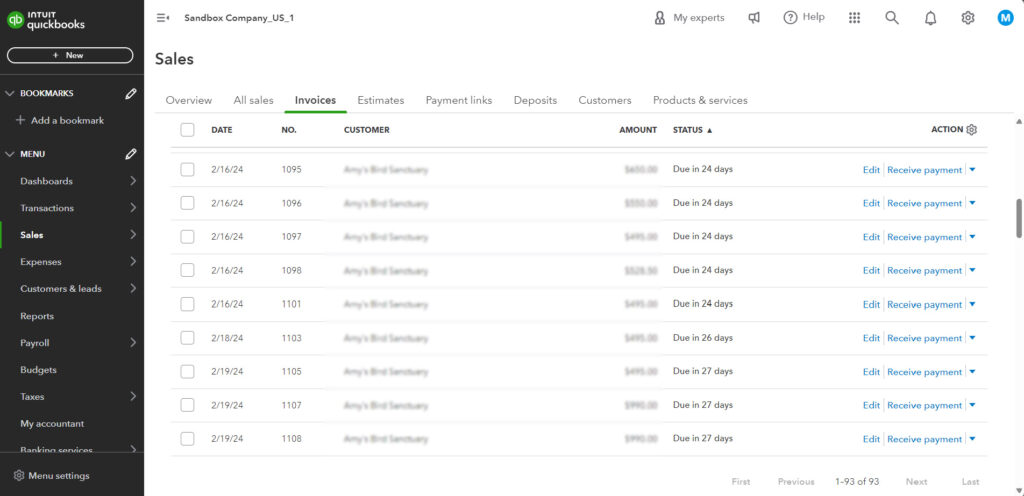
This invoice will also be reflected in QuickBooks.